There’s something deceptively simple about the hard-boiled egg-a humble kitchen staple that promises nourishment and convenience in every bite. Yet achieving that flawless balance of firm, tender whites and a perfectly cooked yolk is an art many find surprisingly elusive. Whether you’re prepping a swift snack, an elegant salad topping, or a protein-packed pick-me-up, mastering the perfect hard-boiled egg elevates your culinary confidence and transforms a basic ingredient into a delicious triumph. In this article, we’ll crack open the secrets to consistently cooking eggs with precision, ensuring each one emerges pristine, peel-ready, and irresistibly satisfying.
Mastering the perfect hard-boiled egg is a culinary art rooted in simple science.whether you crave a snack with a creamy golden yolk or a firm white texture for your salads and sandwiches,knowing the chemistry behind the process will elevate your kitchen skills instantly. From egg selection to cooking techniques, each step impacts the texture and flavor of your eggs, turning this humble ingredient into a delectable delight.
Prep and Cook Time
- Readiness: 5 minutes
- Cooking: 10-12 minutes
- Cooling: 10 minutes
- Total time: Approximately 25-30 minutes
Yield
Serves 4 (assuming 2 eggs per person)
Difficulty Level
Easy – Perfect for beginners and seasoned home cooks alike
Ingredients
- 6 large eggs, preferably 7-10 days old (not ultra-fresh)
- Water, enough to cover eggs by 1 inch in the pot
- 1 tablespoon white vinegar (optional, helps with peeling)
- 1 teaspoon kosher salt (optional, enhances flavor and eases peeling)
- Ice cubes for an ice bath
Step-by-Step Instructions for Achieving firm Whites and Creamy Yolks
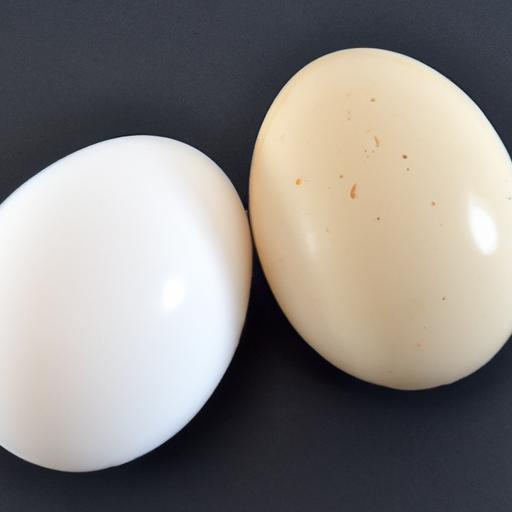
- Choose the right eggs: Opt for eggs that are about a week old. Fresh eggs are harder to peel because the whites cling firmly to the shell membranes. Slightly older eggs create the perfect separation.
- Prepare your pot: place your eggs in a single layer in the bottom of a saucepan. Add enough cold water to cover them by about 1 inch. Add vinegar and salt if using, wich can help create tender whites and easier peeling.
- Heat wisely: Bring the water to a rolling boil over medium-high heat. As soon as it boils, turn off the heat, cover the pan, and let the eggs sit. for creamy, just-set yolks, wait 9-10 minutes; for firmer yolks, extend to 11-12 minutes.
- Quick cool down: Using a slotted spoon, transfer eggs immediately to an ice bath to halt cooking and prevent the greenish ring around yolks caused by iron-sulfur reactions.
- Peel carefully: After at least 10 minutes in the ice bath, gently tap the eggshell on a hard surface and roll to crack evenly. Peel under running water to ease away stubborn bits.
Troubleshooting Common Issues and Enhancing Flavor with Simple Tips
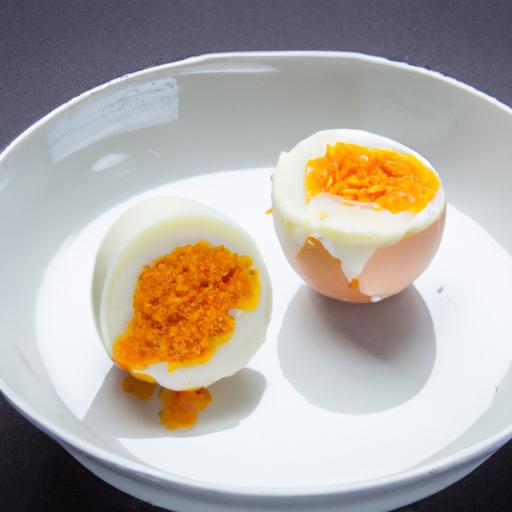
- Green yolk discoloration: This harmless sulfur-iron reaction happens if eggs are overcooked. Prevent it by promptly cooling in ice water and avoiding prolonged boiling.
- Difficulty peeling fresh eggs: Use older eggs for better peeling or add baking soda (¼ teaspoon) to the boiling water to help with shell releasing.
- Rubbery whites: Avoid high heat boil. Using gentle steaming or off-heat sitting improves tenderness.
- Flavor boost ideas: After peeling, soak eggs for 5 minutes in a mixture of soy sauce, a splash of sesame oil, and freshly cracked black pepper to create a quick umami glaze.
- Make-ahead tip: Store peeled eggs in a sealed container with a damp paper towel in the fridge for up to 4 days to maintain moistness.
Serving Suggestions
Enjoy these perfectly cooked hard-boiled eggs sliced over a vibrant salad of arugula, cherry tomatoes, and radishes with a drizzle of herb-infused olive oil. For a classic approach, sprinkle with flaky sea salt, freshly cracked pepper, and a pinch of smoked paprika. Consider serving alongside avocado toast or tuck them inside a rustic sandwich layered with crisp lettuce and mustard aioli for a burst of creamy texture and savory satisfaction.

| Nutrient | Per 2 Eggs |
|---|---|
| Calories | 156 |
| Protein | 13g |
| Carbohydrates | 1g |
| Fat | 10g |
Immerse yourself deeper into egg perfection with our complete guide to deviled eggs. For the science buffs,the scientific description of egg protein coagulation offers fascinating insights into the magic behind texture transformation.
Q&A
Q&A: Mastering the Perfect Hard-Boiled Egg – Firm Whites & Yolks
Q1: What makes a hard-boiled egg “perfect”?
A1: The perfect hard-boiled egg boasts firm, tender whites without rubberiness and a yolk that’s fully cooked but still creamy, not chalky or greenish. It’s a harmonious balance of texture and flavor, where every bite feels just right.
Q2: Why do some hard-boiled eggs end up with a green ring around the yolk?
A2: That verdant halo is actually a chemical reaction! When eggs are overcooked or cooled too slowly, sulfur in the whites meets iron in the yolks, forming ferrous sulfide. While harmless, it signals a yolk cooked past its prime-firm, but less creamy.Q3: How do you achieve firm whites without turning the yolk dry?
A3: timing is key. Start by gently lowering eggs into simmering (not boiling) water and cook for about 9-12 minutes, depending on size. Immediate cooling in ice water stops the cooking instantly,preserving yolk creaminess and firm whites in perfect sync.
Q4: Does starting with cold water or hot water affect the outcome?
A4: Yes! Starting with simmering water gives you more control over cooking time and consistency. Eggs plunged into boiling water cook more evenly and predictably, minimizing that dreaded green ring and overcooked yolks common with cold water starts.
Q5: How does freshness of the egg influence how it peels and cooks?
A5: Fresh eggs tend to be harder to peel as the pH of the white is low, causing it to cling tightly to the shell membrane.Slightly older eggs (about a week old) have higher pH levels, making them easier to peel after boiling, without compromising texture.
Q6: Any secret tips for effortless peeling?
A6: After cooking, plunge eggs into a cold water bath for at least 5 minutes. Gently tap and roll the egg on a hard surface to crack the shell all over. Peeling under running water can help slide off tiny shell bits, revealing your perfectly smooth egg.Q7: Can altitude or egg size change cooking times?
A7: Absolutely. Higher altitudes lower the boiling point of water, so you’ll need to add a couple of extra minutes. Larger eggs naturally require longer to cook through.Adjust times incrementally and test to dial in perfection for your kitchen.
Q8: How can I use hard-boiled eggs beyond breakfast?
A8: Their versatility is stellar! Chop them into vibrant salads, mash into creamy deviled eggs, layer in sandwiches, or use as a protein-packed snack.Mastering the perfect egg opens a world of culinary creativity.
Q9: Is it possible to cook hard-boiled eggs without boiling water?
A9: yes! Steaming eggs for about 12-14 minutes yields eggs just as perfect-firm whites and creamy yolks-with easier peeling. It’s a gentle method that’s gaining fans for its consistent results and minimal fuss.Q10: What’s the final takeaway for egg enthusiasts seeking perfection?
A10: Patience and precision win the day. Respect your egg’s size, freshness, and the nuances of your stove. By controlling water temperature, timing, and cooling swiftly, you’ll unlock that flawless balance-egg-cellent whites and yolks that sing with creamy, firm delight every time.
In Retrospect
Whether you’re crafting a simple snack, elevating a salad, or perfecting deviled eggs, mastering the art of the perfect hard-boiled egg unlocks a world of culinary possibilities. With firm, tender whites and creamy yolks achieved through precise timing and technique, you’ll never have to settle for guesswork again. So next time you reach for an egg, remember-perfection isn’t just a happy accident; it’s the result of knowledge, patience, and a little kitchen magic. Crack on!